A nice feature within Windows for sysadmin’s and MSP’s to have a play around with is the system information.
From a manufacturer this may look something like the below:

However. we want to customise this for our MSP environment so our clients know where to call or visit and when they can do so, for support.
Basic Steps – Editing the information manually on each machine
Whilst this isn’t the most efficient method, it’s useful to know if you are creating an image to be re-distributed by something like FOG or WDS.
- Open “regedit”
- Navigate to: “Computer\HKEY_LOCAL_MACHINE\SOFTWARE\Microsoft\Windows\ CurrentVersion“.
- Find the “OEMInformation” folder and click into it.
- Now right-click in the blank space and hover over “New” and then select “String Value”.
- Give the value one of the following names and complete step 4 & 5 until all values have been created:
- Logo – You will need to place a 150PX*150PX BMP image in the following location “C:\Windows\System32\oemlogo.bmp” and set the Value of this entry to that location for this to appear.
- Manufacturer
- Model
- SupportHours
- SupportPhone
- SupportURL – Ensure you include the “https://”
- Now click onto each of those values and enter the information that you’d like to appear.
- Your registry editor should now look somewhat like the below:

- Now close out of the registry editor and open Control Panel and head to System settings. If you’re running Windows 11, it will revert you to the Windows settings rather than the classic Control Panel settings, which will show you everything other then your OEM Logo. This will still be visible in Windows 10, assuming Microsoft don’t remove the functionality of the classic Control Panel there too.
- Your settings windows should look something like this:

- This is how it would look on a slightly older system. with the classic Control Panel, in this case Windows Server 2019:

Now of course, you can export this registry entry and import it onto each machine you want to apply it to. However, if you’re in a domain environment you can deploy it with a group policy.
Advanced Steps – Deploying with Group Policy
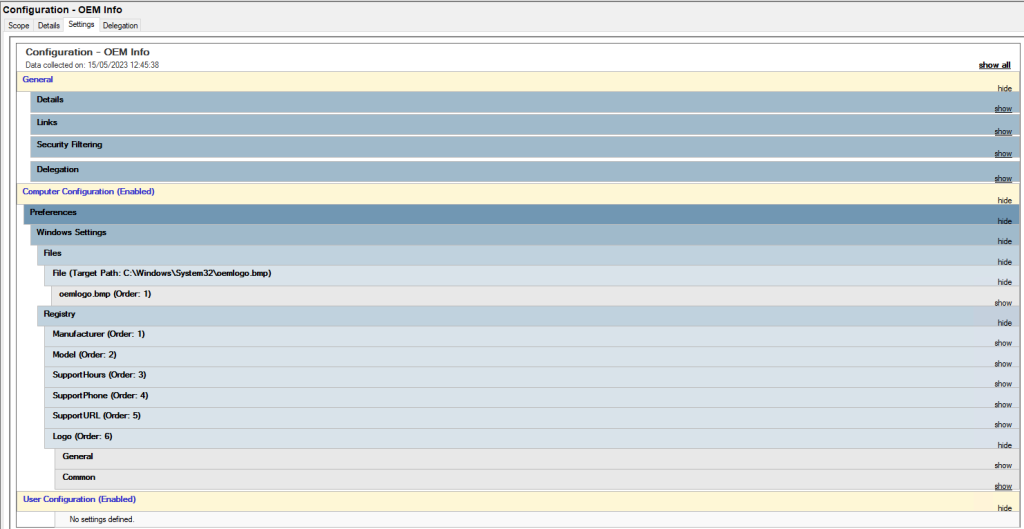
To deploy it with a group policy, create a GPO as normal and link it to your target OU, then configure the below settings the same as you would using the Windows registry editor:

You can even deploy your MSP/Company logo using the “Files” section in the above GPO to deploy that to the systems to show in the classic control panel view.
And that’s it, you’re branded up!
I hope you found this useful or insightful, if you did please let me know in the comments and if you come across any issues, please drop them below and I’ll do what I can to help.
Edit – 16/08/2024: Find a link here, to the .reg file which needs adapting to suit your information, then double click it to apply it.
Leave a Reply